how to access the Virtual Machine from RDP (Remote Desktop).
Required is internet connectivity without Proxy block in your internet connection and an Azure Account.
Step 1 - Login on the New Portal
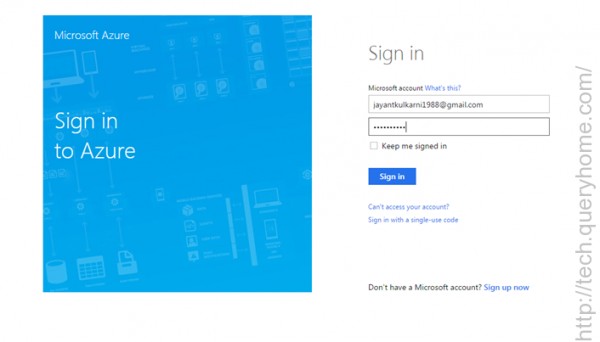
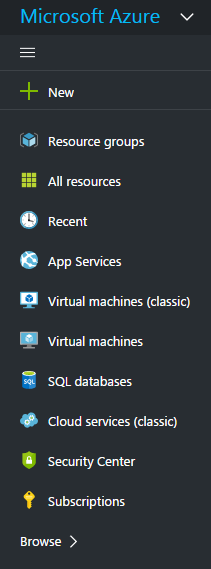
After login you will get Dashboard like this,

Step 2 - Click on Virtual Machines (Classic)
Click on Virtual Machine (Classic) from left side Menu, It will give you all Virtual machines list or blank screen with add button and refresh button.
Step 3 - Add Virtual Machine by Clicking on Add Button

Gives you more options to create VM like Windows Server, Ubuntu Server, Service Fabric Cluster, Visual Studio etc.
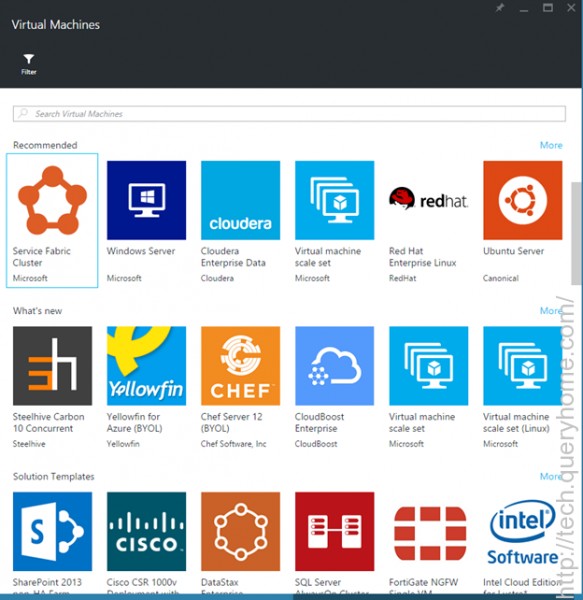
We are going to create windows Server.
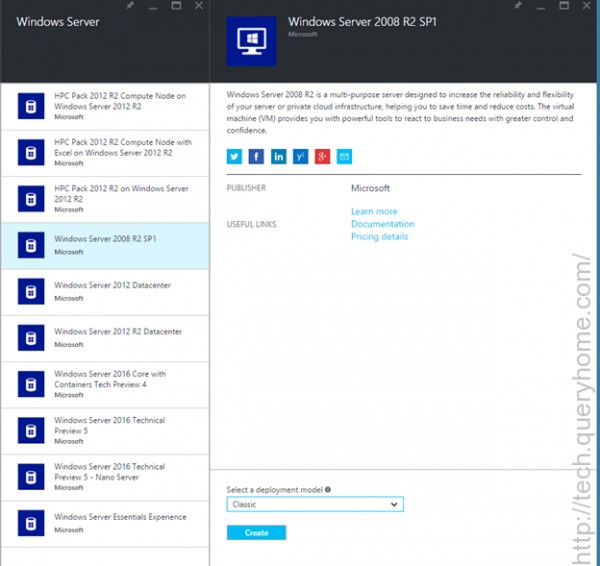
Step 4 - Select Windows Server and choose Server type
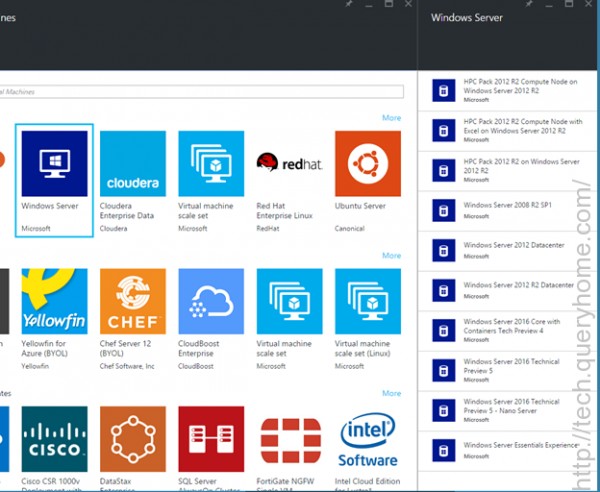
We are going to create Windows Server 2008 R2 SP1.
Step 5 - Click on Windows Server 2008 R2 SP1
It will ask for deployment model in the bottom of the page, please select Classic from the drop down list and Click on Create button. We will see what is Resource Manager in separate article.
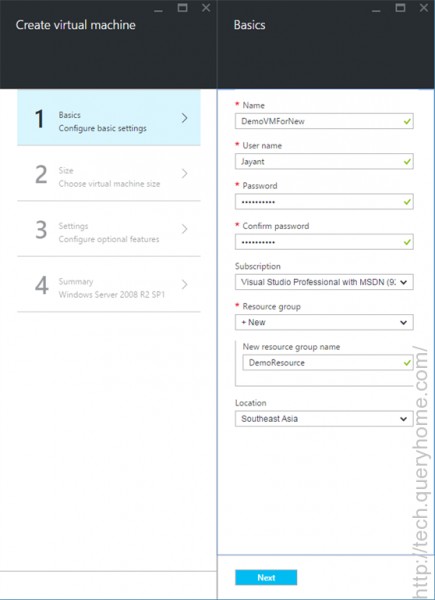
Step 6 - Fill Basics information for Virtual Machine
Fill the basics information like Name, User Name, Password, Confirm Password, Subscription, Resource group, Location.
- Name - Virtual machine name.
- User name - to access the virtual machine
- Password - It should be at least one capital, one special character & one numeric.
- Resource group - you can select pre define or you can create new one. We will see Resource group and Resource manager in deep in separate article.
- Location - It is a Region like Southeast Asia, East US etc.
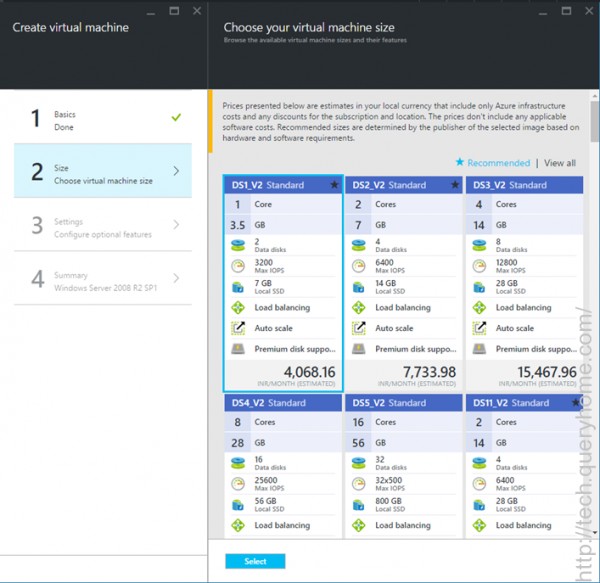
Step 7 - Choose Virtual Machine Size
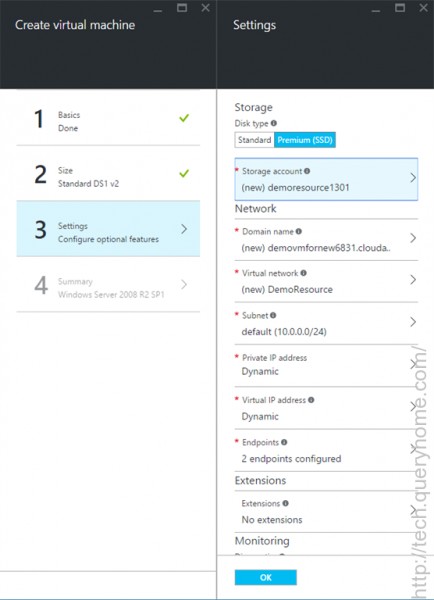
Step 8 - Settings
Configure some optional settings like storage. If you are new to it don’t worry it will create default storage and all settings automatically by Azure. Just go proceed and click on OK button.
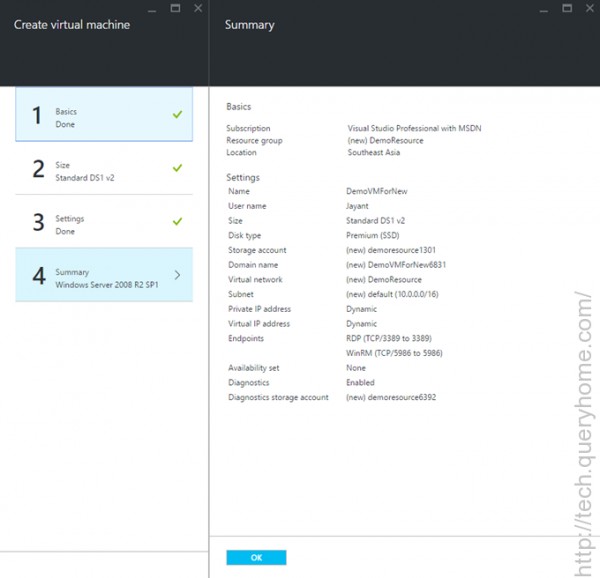
Step 9 - Summary
It will give you summary data of your virtual machine like Name, Location etc.
Step 10 - Done with Configuration
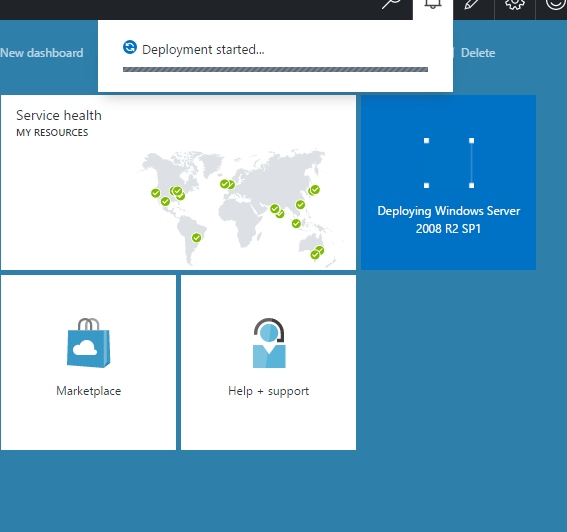
Click on OK button it will redirect to dashboard and it will show you the notification for deployment started.
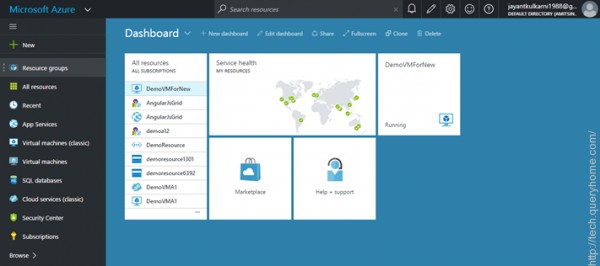
And status will show running then click on VM it will show window for VM details.
Step 11 - Open VM and Click on Connect
It will show you the details of VM and after clicking on connect it will download the RDP file (.rdp).

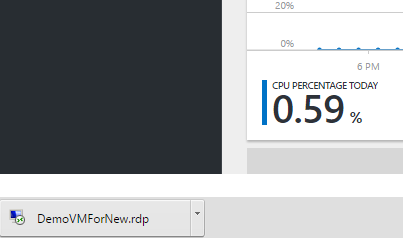
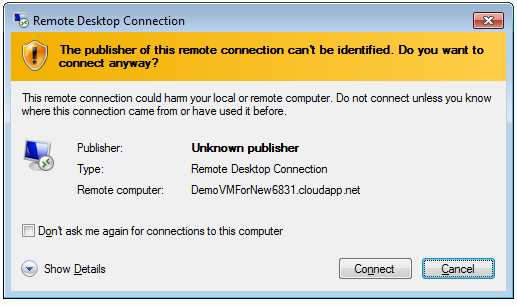
Step 12 - Open RDP
It will ask for Connect.
Step 13 - Login to access
Give the User name and password which is you have entered in the Azure portal at time of configuration on VM.


Step 14 - Shut down VM
Shut down your Virtual Machine when it is not in use by clicking Stop button. Don’t forget to shut down the Virtual Machine.


